tl;dr (too long, didnt read):
Professional sound is about the room, not just the gear. Prioritize acoustic treatment (like a "dead" closet space) over expensive mics to ensure your audio is broadcast-ready.
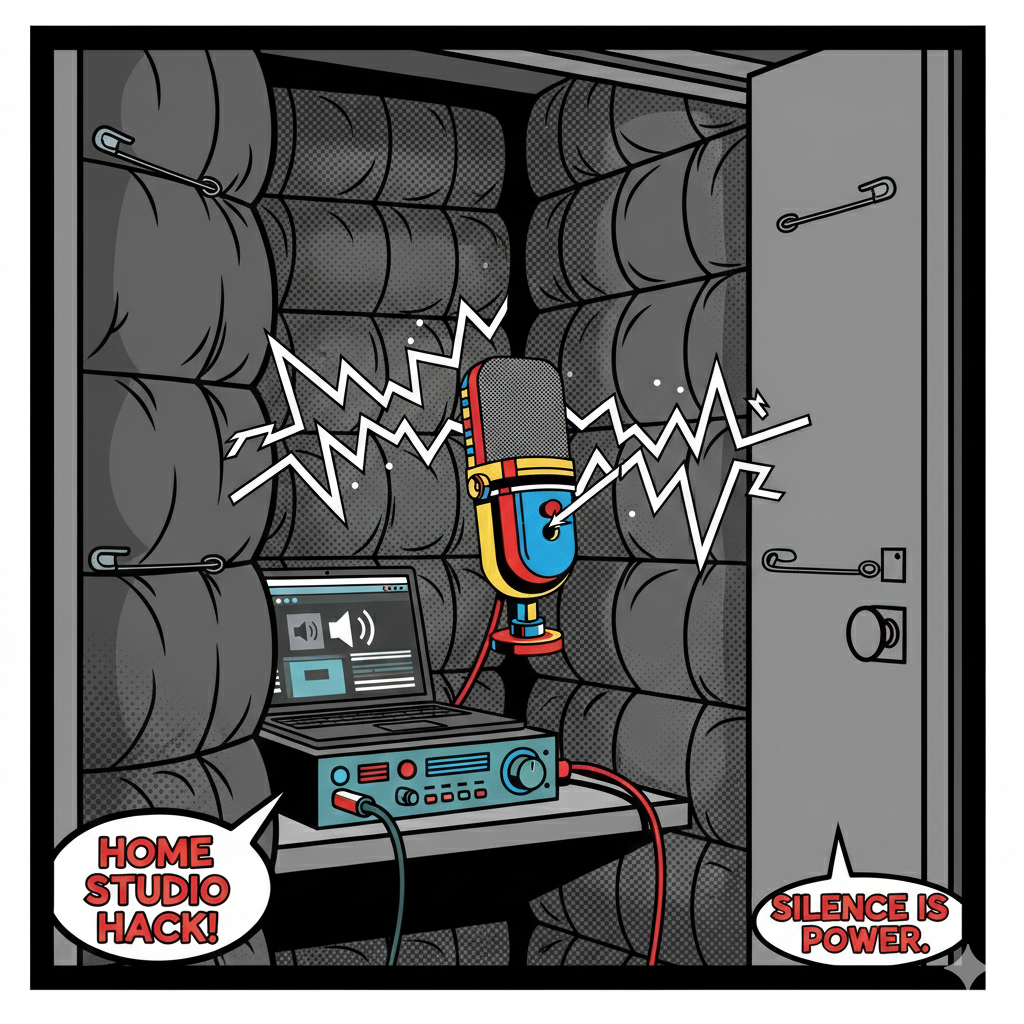
The Silent Power: Building Your Broadcast-Ready Home Studio
Let’s talk tech! As a voice for hire, your home studio is your command centre. Clients don't care about your microphone brand; they care about the sound quality. That’s why the biggest secret to a professional setup is acoustic treatment, not soundproofing.
Acoustic treatment means taming the echoes and reflections in your room. The cheapest and most effective way to start? A quiet closet lined with thick moving blankets. This creates a ‘dead’ space where your voice is the only thing the microphone hears.
For equipment, you need three things: a Large Diaphragm Condenser Microphone (XLR is the pro standard), an Audio Interface to connect the mic to your computer, and a Digital Audio Workstation (DAW) such as Audacity or Reaper for recording.
Don't overspend on your first mic! Focus your budget on treating your space first. When you submit an audition with clean, echo-free audio, you instantly sound like a professional voice talent ready for any spoken style project.
Your silent space is your loudest asset.